Brazilian waxing can be an empowering way to feel polished and confident—but heading to the salon isn’t always convenient or affordable. Doing a Brazilian wax at home might sound intimidating, but with the right knowledge and tools, it can be a manageable (and surprisingly straightforward) process.
This guide will walk you through everything you need to know about Brazilian waxing at home, from preparation to aftercare. We’ll also share essential safety tips to ensure your experience is as smooth and comfortable as possible.
Why Preparation is Key for a Successful At-Home Wax
Before you even think about applying wax, preparation is essential. Here’s how to get things ready for a safe and effective Brazilian wax at home.
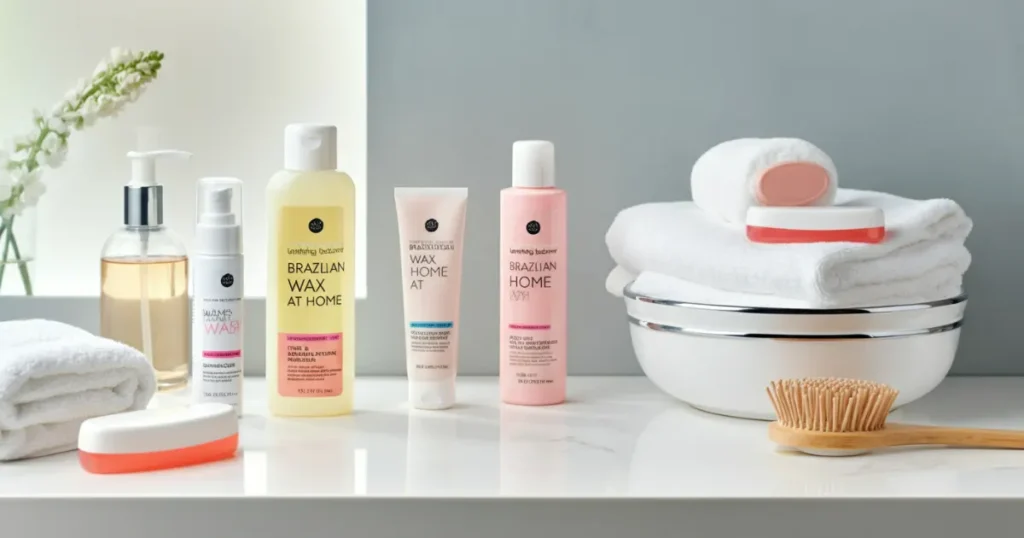
Gather Your Supplies
First, gather the necessary tools to avoid any interruptions mid-process:
- Waxing kit (look for soft wax or hard wax specifically designed for sensitive areas)
- Wax heater or microwave (if required for your wax)
- Wooden applicator sticks
- Cloth strips (if using soft wax)
- Baby powder or cornstarch
- Pre-wax cleanser (or mild soap)
- Aloe vera gel or a soothing post-wax lotion
- Tweezers, just in case any stray hairs remain
Trim Hair to the Right Length
Hair that’s too short or too long can make waxing more painful and less effective. Trim the hair to about 1/4 to 1/2 inch. This allows the wax to adhere properly for smooth removal.
Exfoliate for Better Results
Exfoliating the skin removes dead cells and preps your skin for waxing by reducing the chance of ingrown hairs. Use a gentle scrub or exfoliating mitt the night before waxing.
Consider Pain Management
Waxing can be uncomfortable, especially in sensitive areas. Taking an over-the-counter pain reliever 30 minutes before waxing can help minimize discomfort. Additionally, avoid waxing during your menstrual cycle, as your skin tends to be more sensitive at that time.
Step-by-Step Guide to At-Home Brazilian Wax
Once you’re prepped and ready, follow these steps to safely perform a Brazilian wax at home.
1. Warm the Wax Properly
If you’re using hard wax, heat it to the correct temperature as indicated in the instructions (usually just warm, not hot). Make sure the wax consistency is thick and spreadable—not too runny. Perform a quick patch test on the back of your hand to check the temperature before applying.
2. Position Yourself Comfortably
Find a well-lit area and set yourself up in a comfortable position that offers a good view (a handheld mirror can help). Many people find it easiest to sit on the edge of the bathtub or a similar surface.
3. Apply Powder
Dust a small amount of baby powder or cornstarch onto the area. This will absorb moisture and help the wax stick to the hair rather than your skin.
4. Begin Wax Application
Using the wooden applicator stick, apply the wax in small sections in the direction of hair growth. Work in manageable areas to ensure proper removal and precision.
- Soft Wax: Apply a thin layer and immediately press a cloth strip on top, smoothing it down firmly in the direction of hair growth.
- Hard Wax: Apply a slightly thicker layer and allow it to harden for a few seconds before removing.
5. Remove the Wax
Hold your skin taut with one hand and use the other hand to pull the wax strip (or hardened wax) off quickly in the opposite direction of hair growth. Doing so in one swift motion helps minimize pain.
6. Tidy Up
Use tweezers for any stray hairs that the wax might have missed, and clean off any wax residue with a post-wax oil or suitable product.
Essential Aftercare for Smooth Skin
After waxing, your skin will need some TLC to soothe irritation and reduce the risk of ingrown hairs.
Cool and Soothe the Skin
Apply aloe vera gel or a calming post-wax lotion to the waxed area to reduce redness and swelling. Avoid tight clothing and friction for the first 24 hours to prevent irritation.
Prevent Ingrown Hairs
Once your skin has calmed (after about 48 hours), gently exfoliate 2–3 times a week to keep ingrown hairs at bay. Use a mild scrub or chemical exfoliant designed for sensitive areas.
Keep Skin Moisturized
Use a fragrance-free lotion or oil to keep your skin well-moisturized, as dry skin can lead to irritation and flaking after waxing.
Safety Tips for a Seamless At-Home Waxing Experience
Waxing sensitive areas requires extra caution. Keep these safety tips in mind to minimize risks.
- Prevent Burns: Always check the wax temperature before application to avoid burns and irritation.
- Avoid Double Dipping: Never dip the same applicator stick into the wax twice to prevent contamination.
- Clean and Sanitize: Work on clean, dry skin and sanitize your tools and space before starting.
- Know When to Stop: If you notice significant redness, bleeding, or discomfort, stop immediately. It’s better to finish with tweezers or consult a professional if needed.
- Avoid Retinol or Exfoliants: Refrain from using retinol or exfoliating products on the waxed area for at least 48 hours to prevent irritation.
Take the Time to Wax Safely
At-home Brazilian waxing may take a little practice, but it can be a convenient and cost-effective alternative to salon visits. By following the steps above, you can achieve smooth, long-lasting results while minimizing discomfort and potential complications.
Remember, it’s all about preparation, proper technique, and safe aftercare. If you’re unsure about anything, don’t hesitate to consult a professional or start off with smaller areas to build your confidence.